Thursday, December 22, 2016

Claypot Chicken with Black Fungus and Shreded Ginger

Okay, I am going to share this claypot black fungus shreded ginger chicken recipe today after seeing so many fried dishes. :) Not that I cook fried dishes everyday, I actually do steamed dishes, stewed dishes, baked dishes as well. Just that when I did simple dishes for my family due to busy schedule, I didn't put them on blog... :D

Here's the ingredients needed for this dish:-
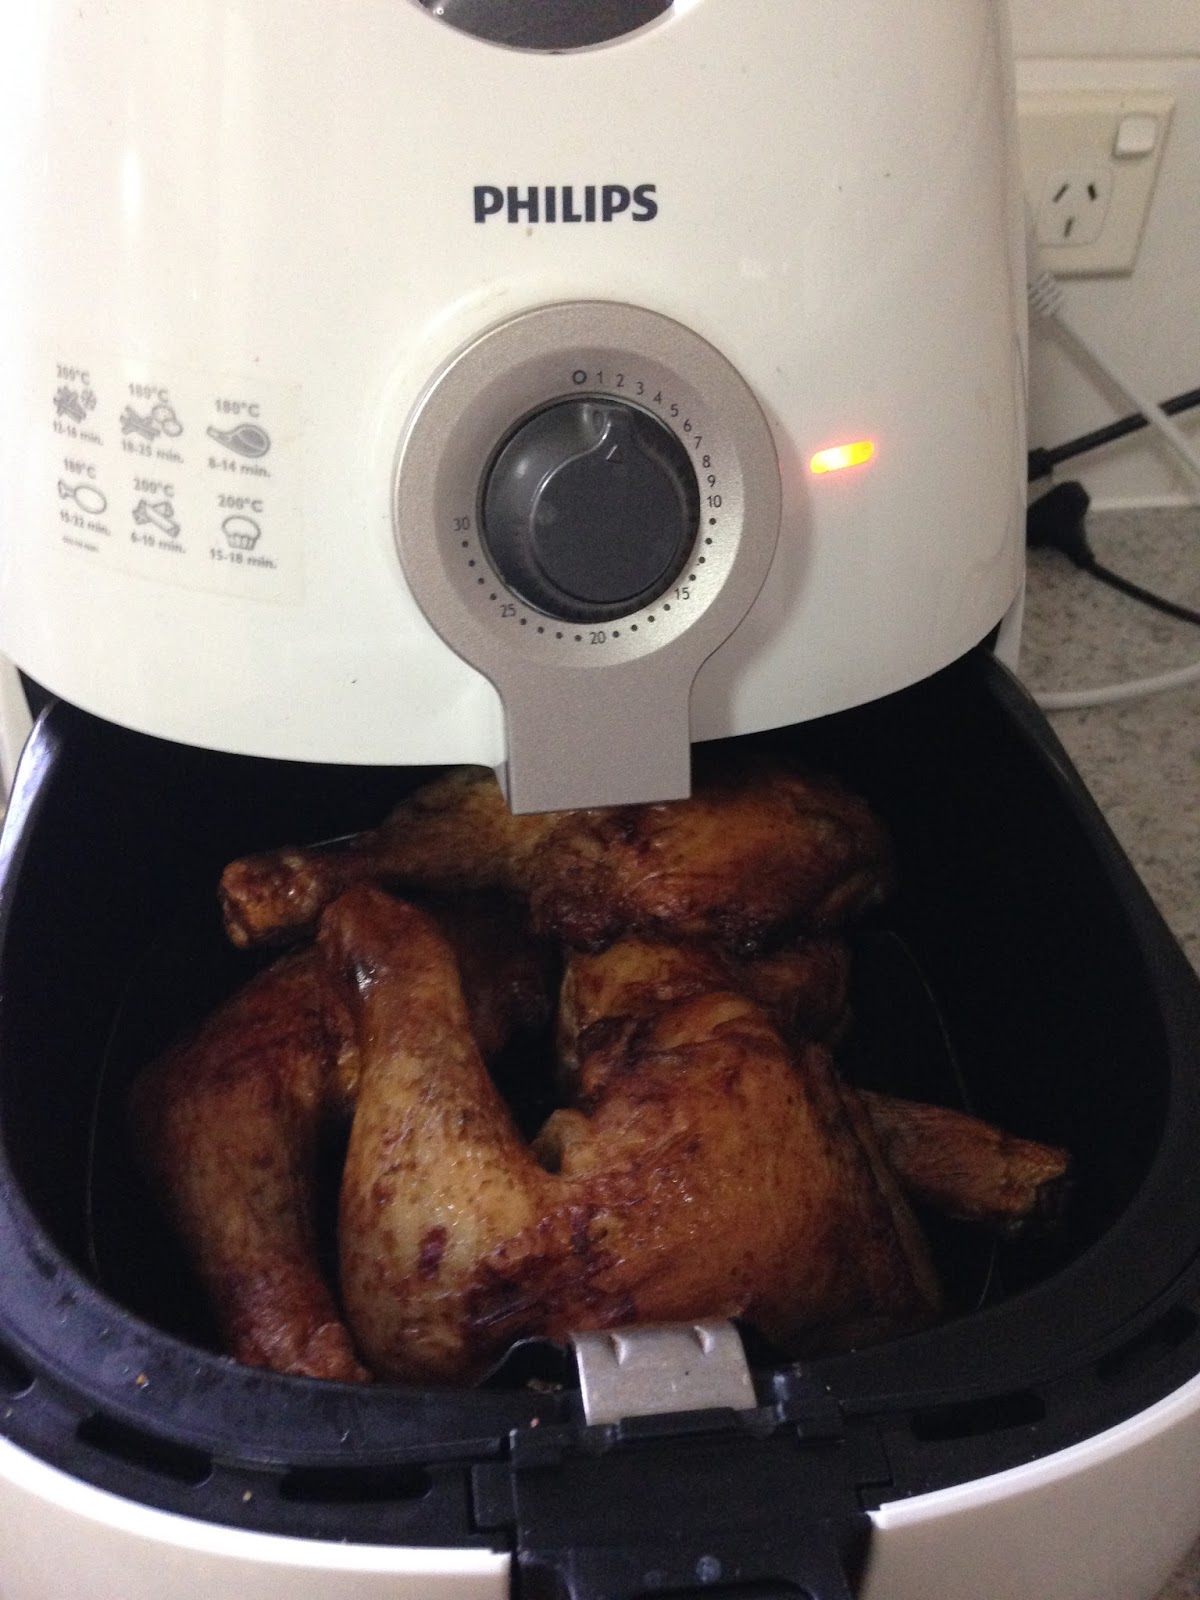
- About 1kg chicken (I use chicken wings. Separate the winglets and drumlets.)
- 2-3 tbsp shreded ginger
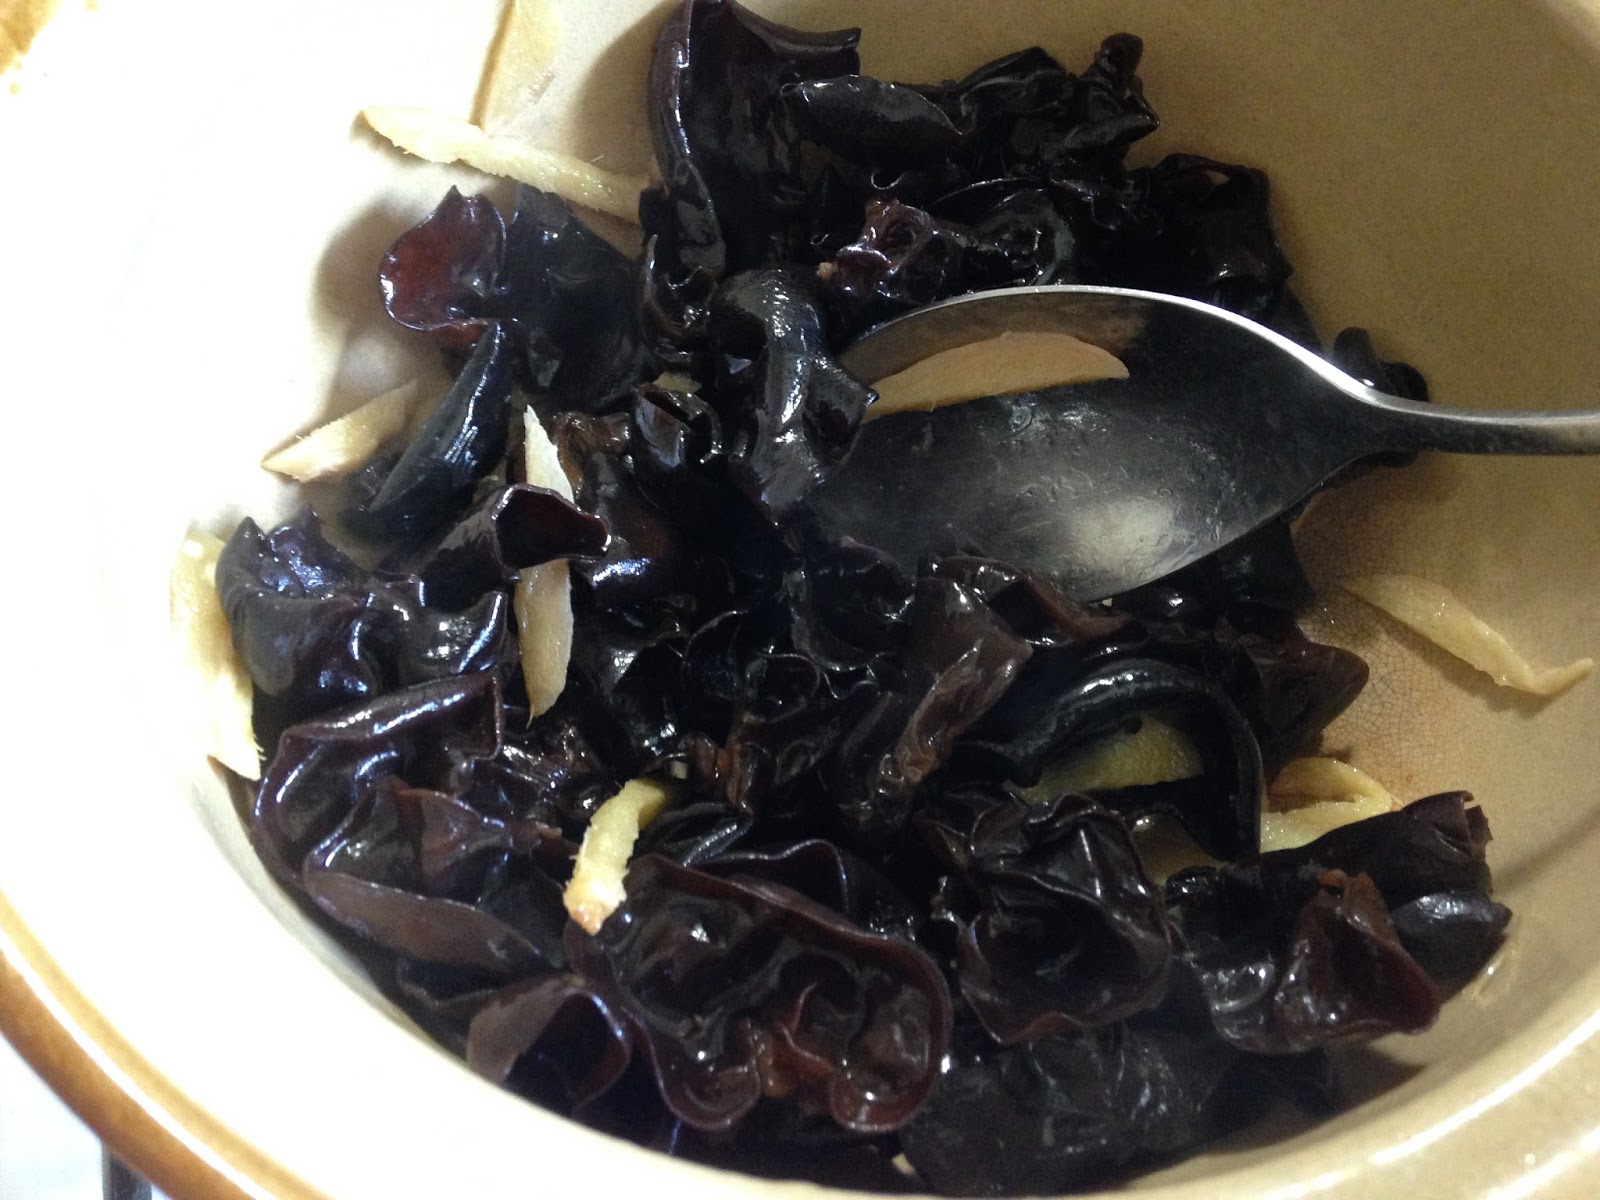
- 15 -16g black fungus (I use cloud ear fungus) - soaked, half them if too big
- 1.5-2 tbsp sesame oil
- 80 -100ml warm water

Seasoning needed:-
- 3-4 tbsp Chinese cooking wine (shao xing)
- 0.5 tbsp oyster sauce
- 1 tbsp soy sauce
- 0.5-1 tsp cooking caramel
- 1 tsp salt
- 0.5 tsp sugar
- **another 3 tbsp Chinese cooking wine (which add in when almost done)

Steps:-
(1) Heat up the sesame oil in a claypot. Saute the shreded ginger until aromatic.
(Note: It is okay to use normal wok if you do not have a claypot.)
(2) Then, add in the black fungus and stir fry it for awhile until aromatic.
(3) Add in the chicken and continue to stir fry them until half cooked.
(4) Next, add in warm water and the seasoning (except the last 3 additional tbsp of Chinese cooking wine). Cover the lid and simmer over medium heat until the sauce is thicken.
(5) When almost cooked, add in the last 3 tbsp of Chinese cooking wine (shao xing) and simmer for another 2-3minutes before removing from heat.
Now, the Claypot Chicken with Black Fungus and Shreded Ginger is ready. Serve immediately with warm rice and other dishes of your choice. ;)

Enjoy!

Thursday, December 15, 2016

Bake Honey Soy Chicken


Bake honey soy chicken. I was wondering whether I should post this dish or not as it is pretty simple. I saw this easy recipe from a magazine and by reading the ingredients and steps, I was happy to keep the recipe as it is simple.

Being the main cook at home, it is indeed not easy. There are times where I stood in front of my pantry wondering what's for tonight. When children are at home during the holidays, that's even more job for mum!  Honestly, I salute the mums/dads who works full time and did the cooking after coming home. Not easy. It's either you pre-planned or you got to think fast for quick meal.

Here's the simple ingredients for this bake honey soy chicken:-

12 or 13 chicken wings, separate the winglets and drumlets (Note: I use medium big chicken wings.)
0.33 cups (ie. 1/3 cups) honey
0.25 cups (i.e. 1/4 cups) light soy sauce
2 tbsp tomato sauce

Method:-
- Mix the honey, soy sauce and tomato sauce in a measurement cup. Stir well.
- In a separate pot or bowl, place the chicken and then pour in the sauce mixture. Mix and coat well.
- Cover the bowl of chicken or cling wrap over it. Place the bowl of chicken in the fridge and let is marinate for at least an hour. (Note: I normally let it marinate for few hours as I did it in the morning and only bake it in the evening.)
 Mix and coat with the marinade...

Ready to bake...
- Preheat the oven at 200 degree C for couple of minutes.
- Place an aluminium foil on the baking tray and then spread the chicken wings on the tray. Brush some of the marinade sauce on the chicken and place the baking tray into the oven.
- Let it bake for about 30 - 50 minutes (depending on your oven) or until cooked, turning the chicken a few times. (Note: If you see that the chicken is a bit dry during the baking process, brush some marinade sauce in between the baking process.)

Now that they are ready, remove the baking tray from oven. Place the cooked chicken on serving plate or it you are like me, just serve directly from the baking tray. ;) 

This was how I serve my meal on that day. The bake honey soy chicken, fries, chicken mushroom soup, cucumber and tomato. :)

Enjoy!
Simple dish. The Bake Honey Soy Chicken for all ages! Just finger licking good!


Tuesday, December 13, 2016

Crispy Curry Leaves Chicken (咖喱叶鸡)

Crispy curry leaves chicken, this is another dish my children love! With the help of my Philips Airfryer, making this dish has become much easier as I do not need to use much oil or to deep fry the chicken.

Here's how I made the crispy curry leaves chicken:-

(1) The ingredients:-
- About 1kg or 1.2kg chicken wings
(Note: About 14 medium small wings, separate the winglets and drumlets. Or, you could also replace chicken wings with chicken thighs)
- 5 to 6 tbsp curry leaves (washed, pat dry, set aside)

(2) The marinade for the chicken:-
- 3 tsp light soy sauce
- 1 tsp (or 1.25 tsp) salt
- 0.75 tsp white pepper (Note: you could reduced to 0.5tsp if you prefer less pepper taste)
- 2 tbsp corn flour

Method:-
In a pot or a big bowl, put in the chicken and the marinade. Mixed well. Cling wrapped over the pot/ bowl (or use a cover) and place it in the fridge. Allow the chicken to marinate for at least 1 hour in the fridge before frying. (Note: For me, I would normally did it in the morning or about noon time depending on circumstances. I let it marinate in the fridge earlier so that I could move on to attend to other matters.)

(3) The cooking bit...
- Your choice. You could either deep fry the chicken in hot oil for about 5 minutes or use an airfryer. My personal preferance is to use airfryer simply because it's less oily.
- As a guide, I airfried my chicken in 2 batches. Place the chicken in the frying basket, spray some cooking oil on top of the chicken and airfried them at 180 degree C for about 20 minutes. (Note: Turn the chicken once for even browning.)

(4) Meanwhile, work on the curry leaves followed by the seasoning...

(i) The curry leaves - Melt about 2 tbsp of butter with medium heat. Put in the the curry leaves and stir fry them until crispy. (Note: Do not use high heat for better control as the curry leaves might turn dark / burnt very fast.) Once ready, remove curry leaves from wok and set aside for later use.

  (ii) The seasoning - Once you have dished up the curry leaves, put in the seasoning below into the wok:-
- about 1 tbsp oyster sauce
- 2 tbsp light soy sauce
- 1.25tsp sugar
And add in about 150 to 200ml water

Let the seasoning simmer over medium heat until it is almost dry, then put in all the fried chicken and the crispy curry leaves. Mix and coat well.
Once all the chicken are evenly coated with the seasoning, dish up into the serving plate. Great to eat warm with rice and other dishes of your choice.  

There, my crispy curry leaves chicken! Yum! 


Thursday, November 24, 2016

Simple Steamed Herbal Chicken (药材蒸鸡)

How about having steamed herbal chicken for dinner?

It wasn't always easy to plan daily menu for the day. Everyday, before I called of my day to rest, my brain will start thinking about breakfast and lunch for the boys to school. For dinner, I would normally brainstorm during my coffee break (at home) after dropping kiddos to school unless I already planned to cook something which require marinate overnight.

Here's how I made my steamed herbal chicken:-

Ingredients (A) needed...
- 3 Chicken Maryland
- 5-6 Codonopsis Pilosula (dang shen 党参)
- 14 pieces of Fragrant Solomon's Seal (玉竹 yu zhu)  
- 3 big pieces (or 4 smaller pieces) of Angelica Sinensis ("female ginseng" or dang gui 当归)
- 0.5 tbsp of American Ginseng (花旗参 or pao shen 泡参)
- 13 Red Dates (Note: Mine was halved when I purchased them. It is okay to use the whole red dates without cutting them into half)
- 5-6 slices Ginger
- 60ml Chicken Stock (or use about 1 bottle of chicken essence)
- 1.5 tbsp Goji Berries (added last)
Now the steps...
In a big bowl which allow you to put in the steamer later, put in the chicken marylands and marinate them with:-
- 1.5 to 1.75 tsp of salt
- 1.5 tsp light soy sauce
- 0.5 to 1 tsp sesame oil
- 0.25 tsp white pepper
- 1 tbsp of Chinese cooking wine (shao xing绍兴酒)
- 2 tbsp of D.O.M Bénédictine liquor or Brandy (or you may use back the Chinese cooking wine)
Cling wrap the bowl of chicken and let it marinate in the fridge for 45 minutes to 1 hour.

Next, remove the cling wrap and put in the rest of the ingredient A (except Goji Berries) - As per the 3rd photo above. When the water in the steamer is boiled, place in the bowl of chicken marylands (4th photo above) and steam them  over high heat for about 60 minutes or until cooked!

Oh, don't forget your goji berries!! Remember to add in the goji berries, extra 1 tbsp of cooking wine and 1 tbsp of D.O.M Bénédictine liquor around the last 4 minutes of steaming.


Steamed herbal chicken is now ready!! Served warm with warm rice and vegetable dish of your choice. :)


Thursday, November 17, 2016

Marmite Chicken (Vegemite Chicken) (妈蜜鸡)

Marmite chicken (or vegemite chicken)! This is another yummilicious chicken my children love. The fried chicken coated with the marmite / vegemite sauce just gave another level of great taste, making my children unable to resist of wanting more of it!

Here's how I made them:-

10 chicken wings (separate the chicken winglets) (about 1kg)

Marinate with...
- 2 tsp soy sauce
- 1 tsp salt
- 0.5 tsp white pepper
- 2 tbsp corn flour

>> In a big bowl or a pot, mix chicken with the marinade ingredients. Use a cling wrap or pot cover to cover the bowl or pot and place the chicken in the fridge. Let chicken marinate for at least 1 hour. (Note: Whenever I wanted to make this dish, I will normally prepare and marinate the chicken in the morning, so that I could do the balance steps faster when I return home from picking up my children from school.)

The sauce...
- 2 tbsp Marmite yeast extract (or Vegemite yeast spread)
- 1 tbsp maltose
- 1 tbsp honey
- 0.5 tbsp sugar
- 1 tbsp soy sauce
- 1 or 2 dashes white pepper
- 100 to 120 ml water

The sesame seeds...
- About 1.5 tbsp white sesame seeds

Method...

Step 1: Fried the marinated chicken!! You could either deep fry them until cooked or use an airfryer to assist in the frying process. 
For this chicken, I use my airfryer to help me with the frying. I separate the chicken into 2 batches and put them into the airfryer. Spray some cooking oil on the chicken and air fried them at 180 degree C for about 20 - 24 minutes i.e until the chicken are cooked and turned golden brown. 

Note: You could start working on the sauce for the Marmite chicken while the chicken were frying in the airfryer.

Step 2: Making the sauce for coating...
- Heat up 1 tbsp of cooking oil, then pour in the sauce ingredients mentioned above and cook at medium heat until it becomes thick.

- Put in the fried chicken and the sesame seeds into the wok of Marmite sauce and mix well. (Note: Make sure that all chicken are coated with sauce and sesame seeds.) 

- Dish up and serve with warm rice and other dishes of your choice... ;)


Monday, November 14, 2016

Aromatic Salt and Pepper Chicken Bites! (盐酥鸡块)

Oh yum! The salt and pepper chicken bites! How about that as one of the dishes for dinner? If you want to make it as snacks...hmm..I think it is okay too!
If I wasn't mistaken, this is the street food started in Taiwan? As I was brought up in Kuala Lumpur Cheras area, I know the night market (pasar malam) in the area sells this delicious street food. It was sold in Mid Valley too! You will normally get a large piece of chicken breast fillet salt and pepper chicken from the street food store. However, since I am doing it at home, it is a good idea to cut the chicken breast fillet into large bite-sized pieces as it will be easier to serve and to eat as well. 

Here's how I made my salt and pepper chicken bites:-

550g chicken breast fillet (cut into large bite-sized pieces)

Marinate with...
- 2 tbsp soy sauce
- 0.5 to 0.75 tbsp Chinese cooking wince (Shao Xing)
- 0.25 tsp baking soda
- 1 tbsp Chinese five spice powder
- 1 tsp sugar
- 0.5 to 0.75 tsp salt (note: I prefer 0.75 tsp salt)
- about 2 dashes of black pepper

**Optional: Set aside about 3 to 4 tbsp of curry leaves - washed and dried thoroughly with kitchen towel for later use.

>>>> You also need about a cup of tapioca flour or corn flour for coating the marinated chicken pieces before frying. (Note: Do not coat chicken with flour earlier. Only coat the marinated chicken pieces when you are about to fry them.)

Now the steps....
(1) Marinate the bite-sized chicken pieces with the above mentioned ingredients (except the curry leaves). Then, place the bowl of chicken in the fridge and allow it to marinate for at least 30 minutes. You can marinate overnight if you want to cook it the next day. (Note: Please do use a pot cover or cling wrap to cover the bowl of chicken pieces before placing into the fridge.)   

(2) Once you are ready to cook, heat up some cooking oil (1 or 2 cups maybe?) at high heat. While heating up the cooking oil, work on the chicken pieces by coating each piece of the marinated chicken pieces (ie. both side) with flour. Shake off the excess flour and fry the chicken pieces at medium high heat in batches.
(Note: I normally coat the chicken pieces with flour in batches. Once the frying process for the first batch of chicken bites almost done, I will start coating flour for 2nd batch chicken piece. However, this is only my way of doing as my frying pan is not very big in size. If you are using a bigger frying pan, then you need to use more cooking oil and you might be able to coat flour and fry all at once.)

(3) By now, the aroma from the delicious salt and pepper chicken bites would have filled everywhere of your kitchen. Remove chicken bites from frying once they turned golden brown. Place the chicken in a serving plate and set aside for the next step if you want to add curry leaves. Otherwise, it is okay to do without curry leaves. 

**(4) Heat up 1 tbsp of butter or cooking oil. Put in the curry leaves and stir fry them at medium low heat to prevent turning dark quickly. Once they have crisped up, quickly pour in the cooked chicken bites and mix well. Remove chicken from heat and it's ready to be served. :)

This is how I served my aromatic salt and pepper chicken bites with warm rice and 2 other dishes. Enough for my family of 2 adults and 2 children. :)

Enjoy!!

Thursday, November 10, 2016

Simple Air Fried Roast Chicken Marylands (Or Chicken Wings)


I just made this simple roast chicken marylands for dinner today served with rice and mixed vegetables.

I am going to share this simple recipe as it is really simple but tasty! Honestly, I doubted myself initially as my mum-in-law told me how she did it. So, when you run out of ideas, why not give this a try?

Of course there are many different ways of marinating the chicken for roasting, but this recipe is really simple.

Here's how I occasionally made my simple roast chicken wings or chicken marylands:-

- 8 decent size chicken wings OR 4 big pieces of chicken marylands (Note: I am using chicken marylands this round.)

Marinate with...
- 3 tsp soy sauce
(Note: use 2 tsp soy sauce if you are using chicken wings and they are a bit small in size)
- 1 to 1.25 tsp salt for chicken marylands
(Note: use only 1 tsp if you are using chicken wings.)

- Then, place the chicken in the fridge and marinate the chicken for 4-6 hours or overnight.
- When the time comes where you need to prepare your meal,
=> Brush little bit of soy sauce on both side of the chicken and place them into th air fryer
=> Air fry at 180 degree C for about 15 minutes.
=> Turn the chicken and continue to air fry at 200 degree C for about 5-10 minutes.
(Note: Depending on the size of your airfryer, you may need to separate them into 2 batches for even frying.)
=> If you want to make sure that the chicken is fully cooked, use a fork or a toothpick to test by poking the chicken flesh. If chicken blood is seen, air fry slightly longer to make sure they are fully cooked. (Note: As a guide, air fry say another 4 to 5 minutes at 180 degree C.)


**The temperature guide is based on my experience with my Philips Airfryer HD9220.


Tuesday, November 8, 2016

Baked Paper Wrapped Chicken Parcel


I have written about this dish in my other blog at https://bankertobaker.blogspot.com.au/ but I am going to write it here as well, as this is one of the dish I made occasionally for my boys.

Thanks to Mr. Google, I was comparing recipes after recipes on this dish. I have basically learned from http://choodoris.blogspot.com.au/…/paper-wrapped-chicken.ht… but I have modified some ingredients to make it my version.

Here's my marinade ingredients:
- 1.3kg chicken (mixture of drumsticks and wings)
- 1.5 tbsp cornflour
- 2 tsp salt
- 1 tsp Chinese five spice powder
- 2 tsp sesame oil
- 3 tsp sugar
- 2 or 3 tsp dark soy sauce (thick sauce 晒油)
- 3 tsp oyster sauce
- 2 tbsp Chinese cooking wine (Hsao Hsing)
- 4 tsp light soy sauce
- 2 tsp grated ginger
- 0.5 tsp white pepper
- 0.25tsp garlic powder (optional)
Marinate the chicken for 4-6 hours.

For wrapping each chicken (together with 1 or 2 tablespoon of the marinate sauce), it is very similar to wrapping spring rolls but you need to brush some oil or sesame oil on baking paper before wrapping.. And the last bit is to tuck in the baking paper so that the sauce will not leak when you start deep frying or baking it. (Please refer http://choodoris.blogspot.com.au/…/paper-wrapped-chicken.ht… for better understanding on how to tuck in the baking paper.)

I never tried deep frying method but I have tried both air frying the paper wrapped chicken or oven baked them. I normally prefer oven bake as I could bake everything all at once with my oven. For oven bake, what I do is I would spray some oil on each parcel and bake at 200 degree C for about 50 minute.

Wednesday, November 2, 2016

One Pot Vegetables Encouraging Whole Tomato Rice...

A year or two ago, someone shared on facebook about whole tomato rice which was hit at one point. Many of my friends shared about it on facebook. Honestly, it doesn't seems very appealing to me at first, but hey, it does taste okay and somewhat appetizing when you eat it. Unlike fried rice, "Whole Tomato Rice" is cooked with a rice cooker only. It is kind of a lazy way to cook a meal but still nutritious and tasty. If you have not heard of it, give it a go!

Thanks to Mr. Google. By learning from others, I would occasionally cook this whole tomato rice when I wasn't free. At least there's food for my boys eventhough it may not seems to be fancy. I have learned one recipe from Christine's website at http://en.christinesrecipes.com/2015/01/whole-tomato-rice.html. However, I did not followed exactly though...I have adjusted the ingredients in accordance to my own liking. :)

Here's how I made mine...

My hubby eats lots of rice. So for one pot recipe rice like fried rice or whole tomato rice, I usually cooked quantity more than normal days.

- 3 cups of rice (I used Sun Rise medium grain rice.)
- 5 medium tomatos (about 460-480g in total) ~ washed, removed the heads and slightly score an X at the bottom
- 3 tsp cooking oil (I used Extra Virgin Olive Oil)
- 1.5 tsp salt
- 1.5 tsp sugar
- dash of white pepper

The meat and vegetables...It is completely up to you. I have done this my way and here's what I put into my rice cooker together with the rice before cooking it.

- about 300g chicken breast (diced)
- 1 medium carrot (diced)
- 1.5 leaves of cabbage - (shreded)
- 0.5 bowl of frozen green pea - (I used chinese rice bowl for the measurement)
- 0.5 fish cake (diced)
- 10 - 15 frozen raw prawn (Put in last when the rice almost cooked. Maybe 4 minutes before rice is cooked)

Method:-
- Put rice in rice cooker. Wash rice with water and drained it.
- Put in slightly less than 3 cups of water ie. until almost the line stated 3 inside the rice cooker. (Note: Reason for lesser water needed for whole tomato rice is because the tomato "juice" will moist the rice further during the cooking process.)
- Then, add in the cooking oil, salt, sugar and white pepper. Stir well with a spoon.
- Now, place the tomatos (heads down) on top of the rice. I placed them in the middle like those shown on the picture above.
- Only thereafter, I moved on to work on the meat and vegetables which I intended to cook together with the tomatos and rice. So, place all the meats and vegetables (except the prawn) that you have prepared into the rice cooker, segmented like those of the picture.
- Now, switch on the rice cooker and cook the rice like normal.
- When the rice is almost cook, i.e. about 4 minutes before the rice is cooked, add in the prawn and continue to cook the rice until it's done.
The look of the whole tomato rice when it is almost cooked!!

Once the rice is cooked, use the rice scooper to mix the rice and all the ingredients until well mixed like the picture below:-

After which, the One Pot Vegetables Encouraging Whole Tomato Rice is ready to be served.

Eat warm. Enjoy!!

Tips: This is optional but it is also delicious if you eat the rice with some fried anchovies or dried shrimps chilli or sambal.